What is art therapy?
Art therapy is a mental health profession which involves the use of art making and the creative process to help improve cognitive and sensory-motor functions, build and improve social skills, promote self-esteem and improve emotional expression.
Benefits of Art Therapy
Art therapy can benefit by helping individuals with their creative and emotional expression, promote building self-esteem, build and improve social skills, aids in the improvement of cognitive and sensory-motor functions. Areas that our art therapist can help with include working on:
- Building social skills and socialization
- Helping clients to understand and communicate feelings
- Helping clients to self soothe
- Offering alternative ways of communicating and engaging with others (especially for those who have more difficulty with it)
- Improving cognitive function
- Helping clients develop a stronger sense of self esteem
- Helping with sensory motor function
Art Therapy Activities
There are many activities you can create at home to mimic strategies that we use in our art therapy sessions! Keep reading to find out what you can use with simple household objects and materials to facilitate art therapy-related activities.
1. Stress Ball
Making a stress ball can help with
Emotion regulation, sensory integration, social skills and following directions.
Ages
A stress ball can be used for all ages
About the activity
Creating a stress ball allows for clients to practice following instructions with the different steps required. They also work on regulating their bodies as they may encounter any difficulties while pouring the flour in.
Creating the face on the stress ball allows them for a way to explore feelings and how we express them.
Working together with your child on this project helps to build social skills and connection. Having the stress ball then helps to self regulate when experiencing various feelings (squeezing when frustrated or having something to fidget with when feeling anxious).
What you’ll need to make a stress ball
- Balloon
- Flour (in a cup or easy to pour container-can also use any gluten free flour)
- Funnel
- Optional materials to add: google-y eyes, yarn and glue
Instructions on how to make a stress ball
Step 1: Have your child select the color balloon they would like
Step 2: Hold the balloon and funnel in place while your child pours the flour into the balloon
Step 3: Tie the top of the balloon when it Is full of flour
Step 4: (Optional): add google-y eyes and yarn as hair. Work with your child by asking where they would like for them to be placed, offering assistance as needed or is appropriate. The stress ball can be used for your child to self-soothe, to squeeze while frustrated or as way for you to play with them (tossing/rolling it to one another).
2. Model Magic Characters
Benefits of making model magic characters
Sensory integration and regulation, social skills, following directions and exploring interests
Ages
All ages but preferred by children 5-12
About the activity
This directive allows for you and your child to work together, helping to foster positive interactions and build their social skills. When working with them, you are also able to engage in their world and explore interests with them.
The need to follow steps helps your child to practice following directions and creates some structure. Model magic helps with sensory integration and regulation.
What you’ll need to make model magic characters
- Model magic (white or colors)
- Markers
- Paper and pencil to write
- Reference images/toys of your child’s favorite characters
Instructions on how to create model magic characters
Step 1: Have your child decide on which character you are going to create together (they can be from a TV show, movie or even a preferred toy/stuffed animal they have at home).
Step 2: Make a list of the colors needed and the different body parts when looking at the image/reference.
Step 3: Using the markers, color the white model magic. Squeeze and play with the model magic to change it to the desired color. You can use sounds to engage your child in this process. (This step can be skipped if using the colored model magic).
Step 4: Looking at the list made for the different body parts, start with creating one at a time. We recommend the head, body, arms and then face. We encourage you to have the child create each part independently, offering assistance as needed/requested.
Step 5: You can then let the model magic dry and keep your character!
3. Animal Mask
Making an Animal Mask can help your child with
Sense of self, self esteem, exploring interests, following directions, steps, emotional expression and regulation
Ages
Suitable for all ages
About the activity
Animals are a great way to help children identify and connect with themselves in a safe way. The use of crayons allows for some fluidity and can help with some sensory integration.
The need to follow steps helps your child to practice following directions and creates some structure. Being able to explore and understand your child’s choice can help build a sense of connection with them and provide support for them to express various feelings.
What you’ll need
- Crayons
- Print out of an animal mask
- Scissors
- String
- Hole puncher
How to create an animal mask
Step 1: Start by exploring what animal they would like to be. Explore with curiosity, what they like about the animal, what qualities that animal has (colors, sounds, setting, etc) the goal here is to engage in some socialization and communication with your child.
Step 2: Look up an image online for an animal mask that can be printed.
Step 3: Have your child use the crayons to color and decorate the mask how they would like.
Step 4: Instruct your child to cut out the mask
Step 5: Using a hole puncher or the scissors, create small holes at the end and tie the string through so that your child is able to wear the mask.
Step 6: Once they have put it on, have them embody the animal. Engage in play with them as they get into character.
4. Self Portrait
Benefits
self esteem, sense of self and emotional expression.
Ages
7 and up
About the activity
A self portrait is one of the best ways to understand ourselves. The use of the mirror in this directive helps your child draw from a visual which can help alleviate some anxiety when drawing a picture of themselves. Using colored pencils allows for more control with the material and can allow for more details to be added.
Being able to share this experience with your child can help give insight on how they feel about themselves and open up communication and the relationship.
What you’ll need
- Paper
- Colored pencils
- Pencils
- Mirror
How to create the self portrait
Step 1: Have your child sit at a table with a mirror in front of them.
Step 2: Invite them to start to draw themselves. Maybe invite them to create different facial expressions, and explore how they would like to draw themselves. This is a good time to talk about a practice different emotions in the mirror (ex: happy-smiling, sad-frowning, etc)
Step 3: If your child is able to work independently, have them work by themselves as they draw a portrait of themselves. If they are comfortable with you observing their process you can sit and watch, though would discourage you from engaging in any feedback as they do.
Step 4: Once they are done, you can approach them with curiosity. Asking them how they feel about their drawing, what stands out to them, what they like/dislike about it?
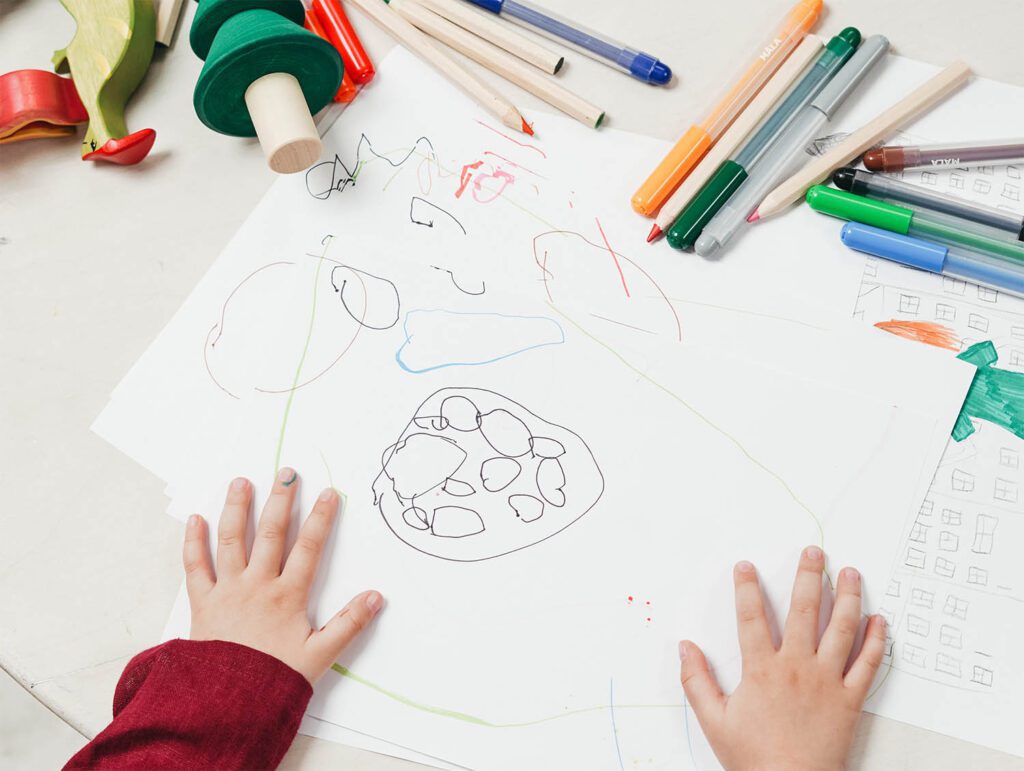
5. Scribble Drawing

Benefits
Self soothing and relaxation
Ages
All ages
About the activity
Creating with music can allow for a sense of relaxation and deeper immersion into the art-making process. The minimal direction allows for a release of control, increased creativity and exploration. The lines can help provide a sense of safety and holding for your child.
What you’ll need
- Paper
- Drawing material of your child’s choice (colored pencils, markers, crayons, chalk or oil pastels)
- Optional: relaxing/meditation music
How to facilitate scribble drawing
Step 1: Play music that feels soothing, relaxing or meditative for your child.
Step 2: Give them a piece of paper, and allow them to select the drawing material of their choice.
Step 4: Then, instruct them to create lines and scribbles on the paper. If they seem stuck or are having a hard time, you can have them draw them based on the music they are listening to.
Step 5: Once they express being finished, have them look for images or simply color in the shapes that they notice in their drawing.
We hope this article will be a great tool to help you design activities that are easy to put together at home, but still just as important and efficient. Whether you would like help your child improve emotional regulation/expression, sensory integration, social skills, ability to follow directions, sensory regulation, or if you are simply interested in helping your child explore their interests, sense of self, self-soothe or relax, there is an activity here for any child. Grab your household materials, and give it a try!
If you have additional questions about how to implement these activities or what other activities could be useful for your child, you can reach us at 786-206-4151, or speak with our board certified art therapist.
If you notice your child responds well to activities like these related to arts and crafts, Always Keep Progressing’s art therapy program may be for him/her! All you need to do is obtain a doctor’s referral or reach out to our office to get your child started with us.


0 Comments